-
Contacts Overview
 Updated
by MasterChat.io
Updated
by MasterChat.io
Getting Here
This module is accessible by Owners and Managers only.
To access this module, in the side navigation menu > click Contacts.
-
-
Segments
Segments are located on the left side of the Contacts module. Use Segments to group Contacts based on specific criteria and filters.
Learn more about Segments here.
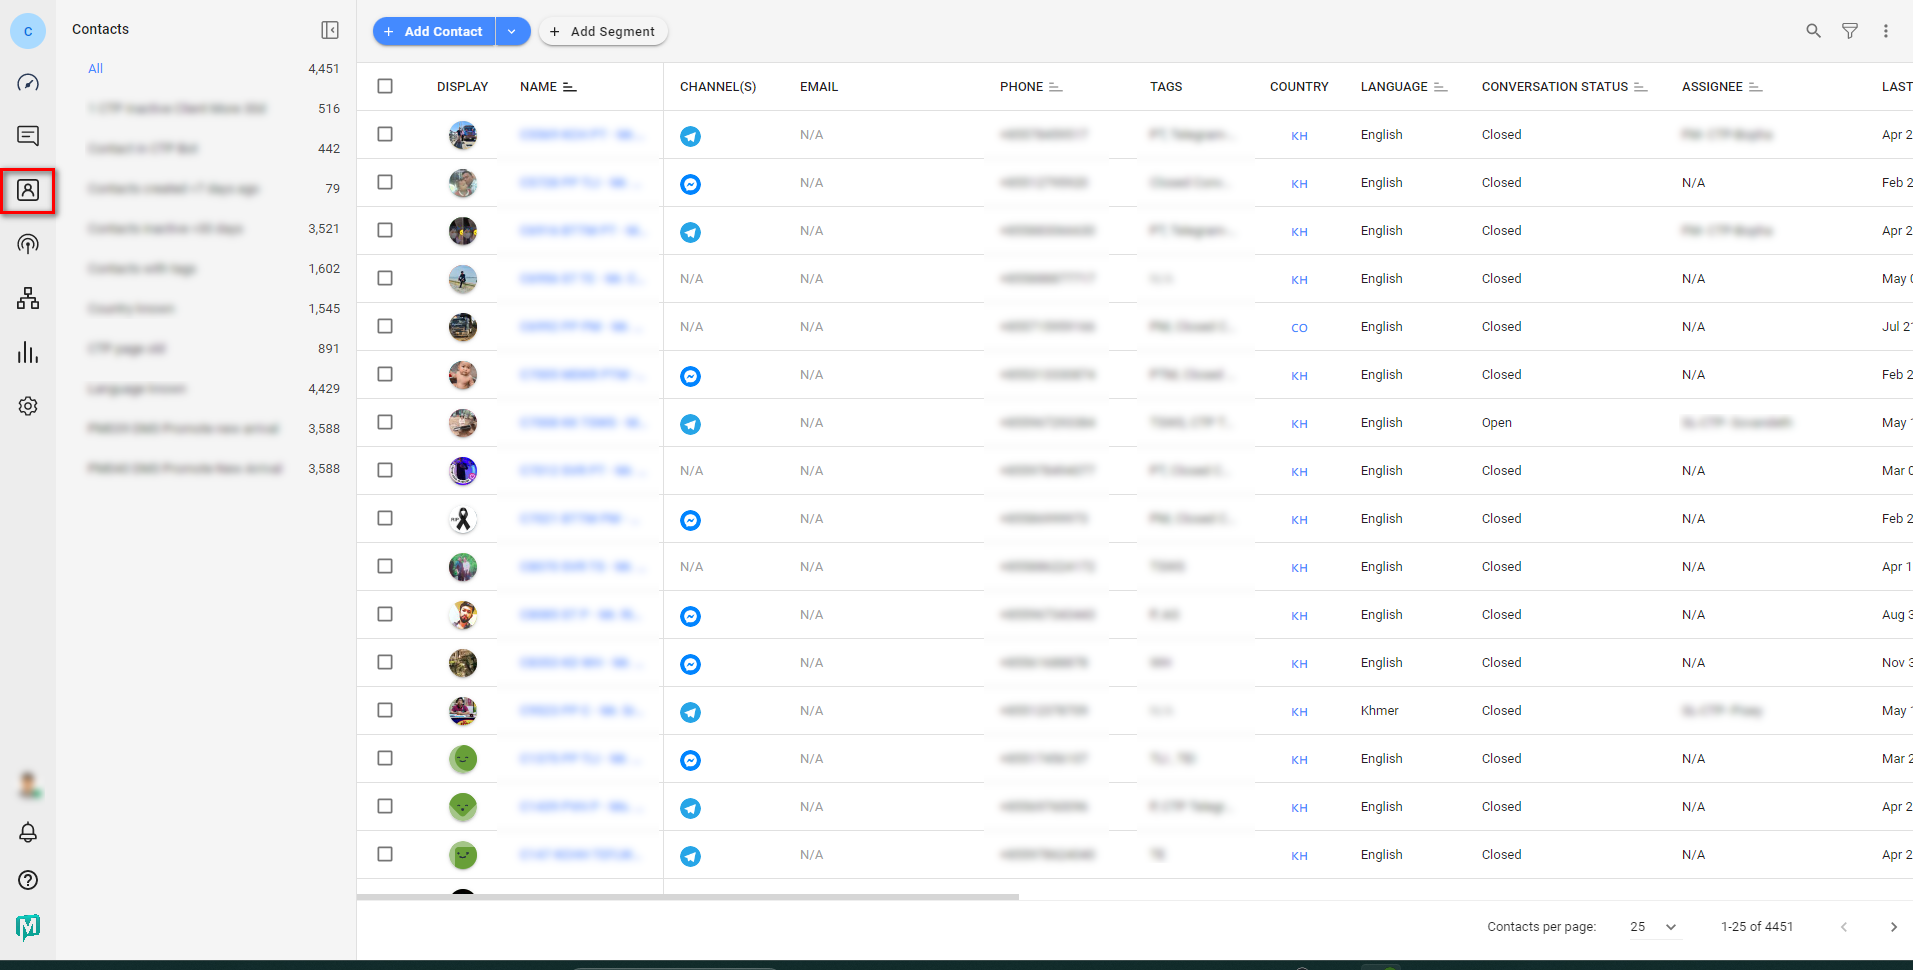
Contacts Table
You can find your Contacts’ records and information in the Contacts Table.
The column headers with a sorting icon are the columns that are sortable, you may sort the records of these columns by clicking on the column headers. Note that the information shown in your Contacts Table depends on the columns you have selected to display.
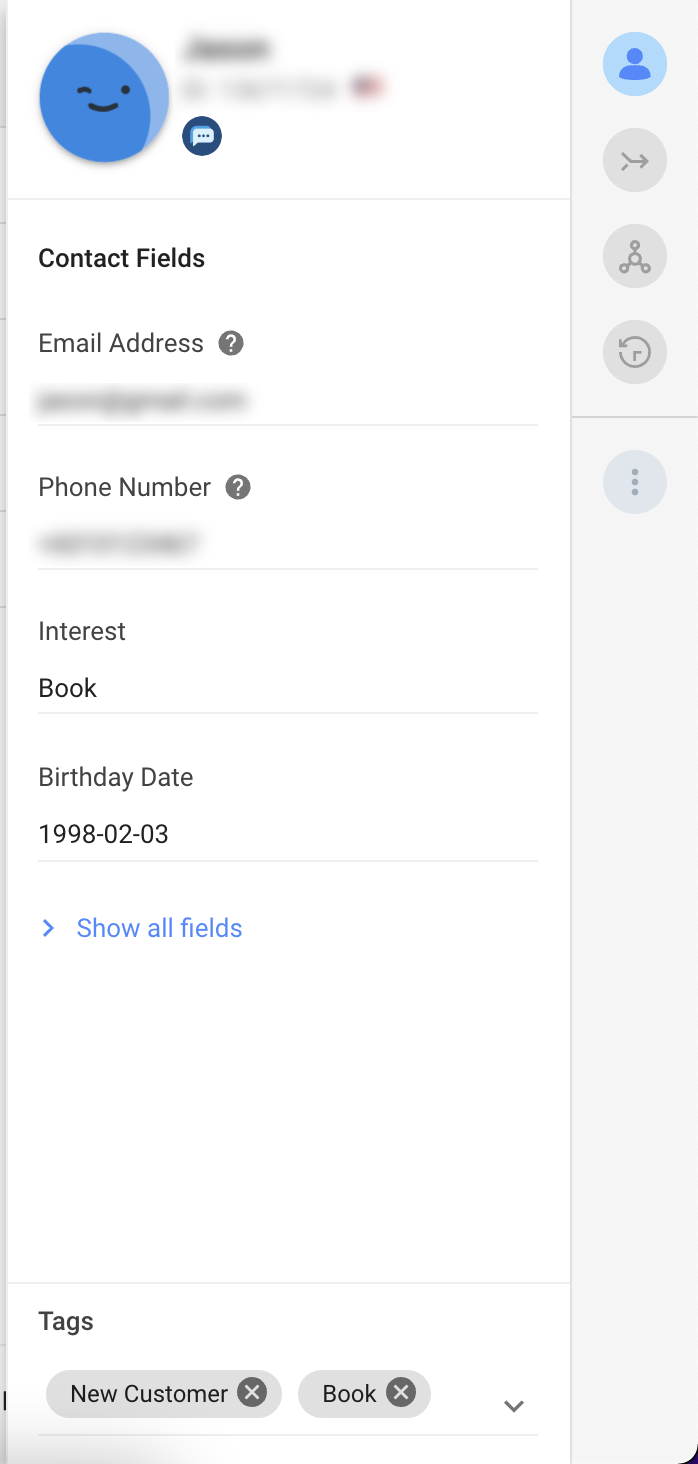
Contact Profile
Access a Contact’s profile by clicking on their name. A profile consists of a profile image and name, supplied by the messaging channel the Contact used to message the platform. In the absence of a profile image, an avatar will be provided. In the absence of a profile name, the phone number or email address will be used instead.
Actions
In the last column of the Contacts Table is an action menu. Click on it to view the available options:
. View Details: Opens the Contact's record to show more details.
. View Messages: Show a Contact's message history in the Messages Module.
. Delete Contact: Deletes the Contact from the Contact List.
Be mindful when you delete a Contact as this will delete the conversation history associated with the Contact and the action cannot be undone.
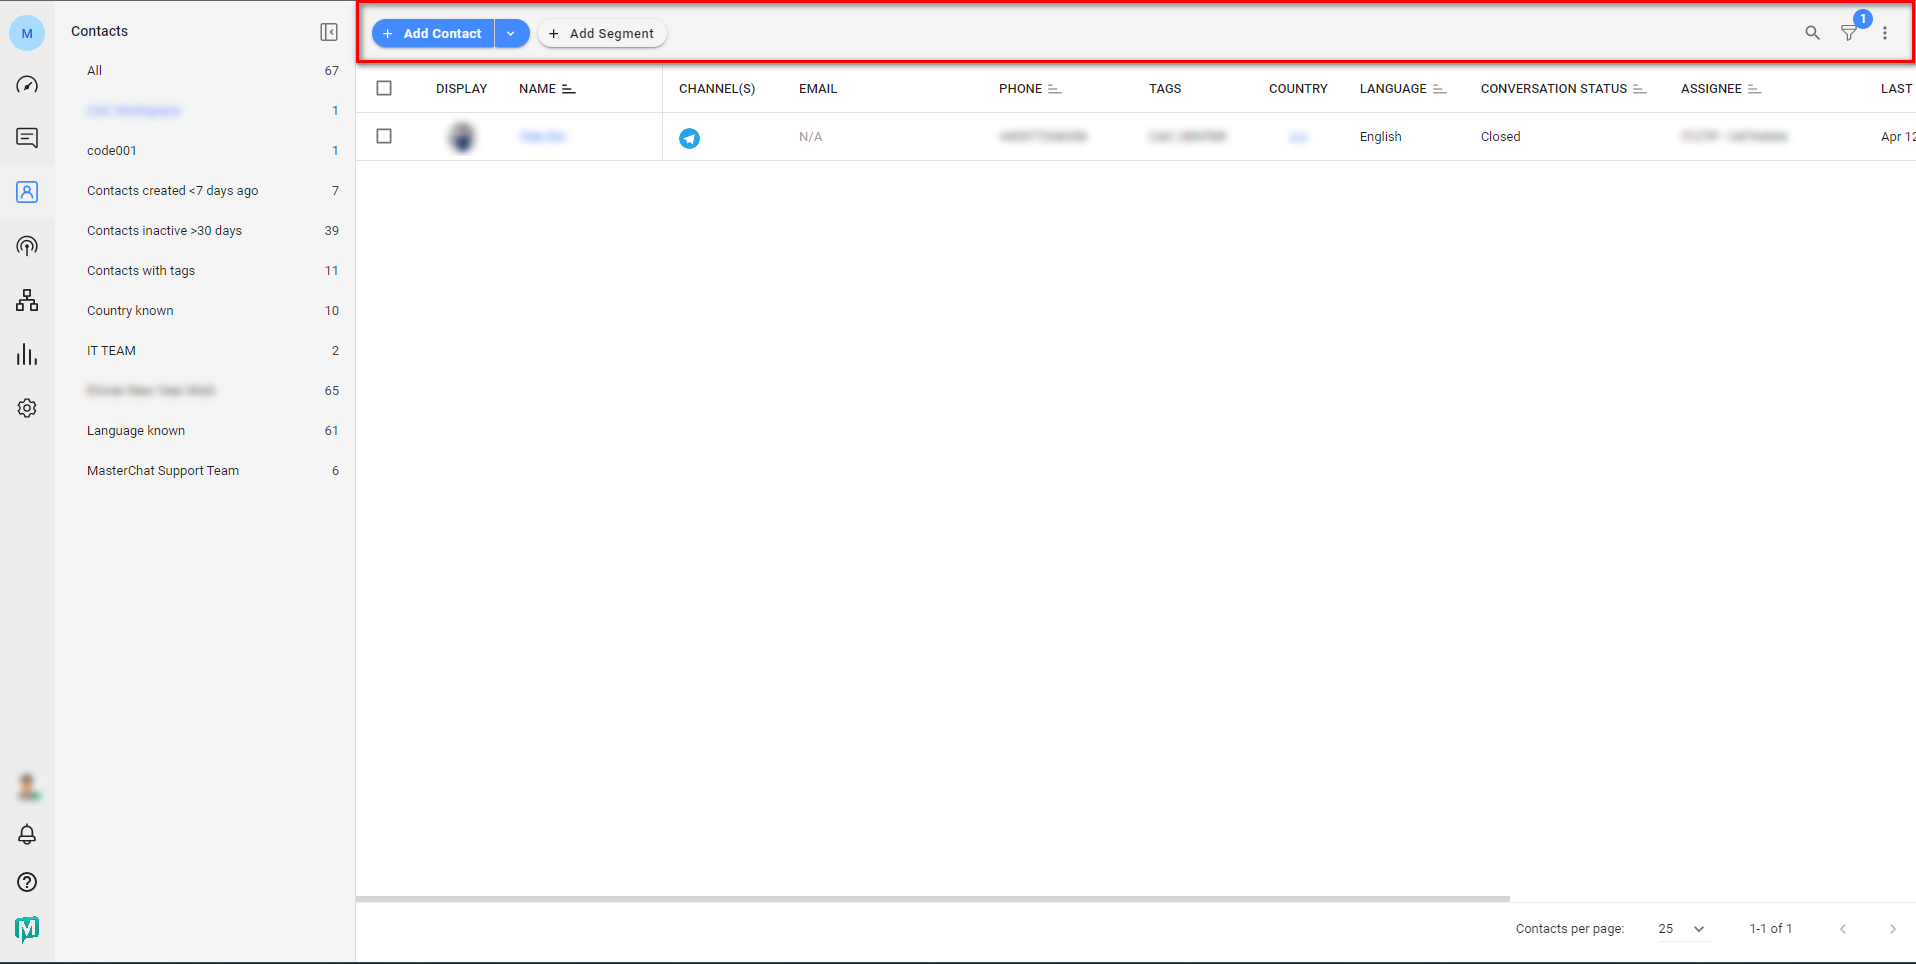
Contacts Menu
The Contacts Menu is located on the top of the Contacts Module. It consists of the Add Contact button, Add Segment button, Search bar, Filter button, and Actions menu.
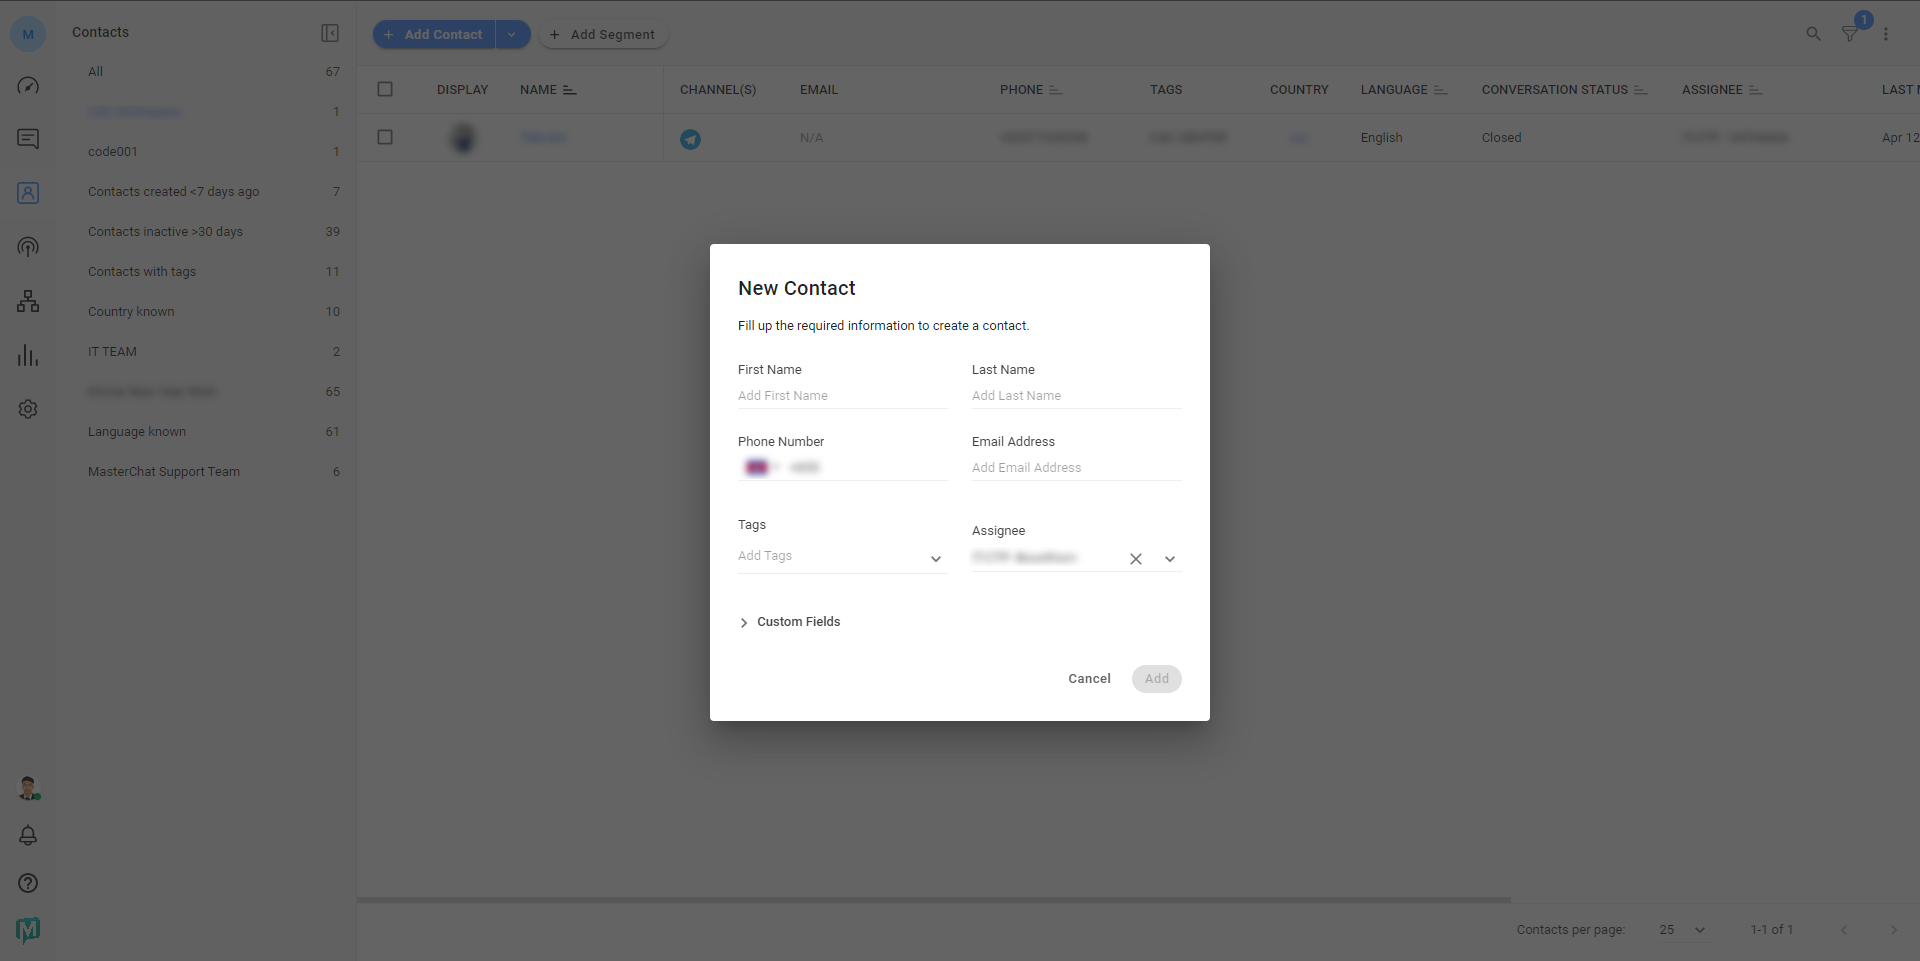
Adding Contacts
Step 1: In the Contacts Module, click the + Add Contact button.
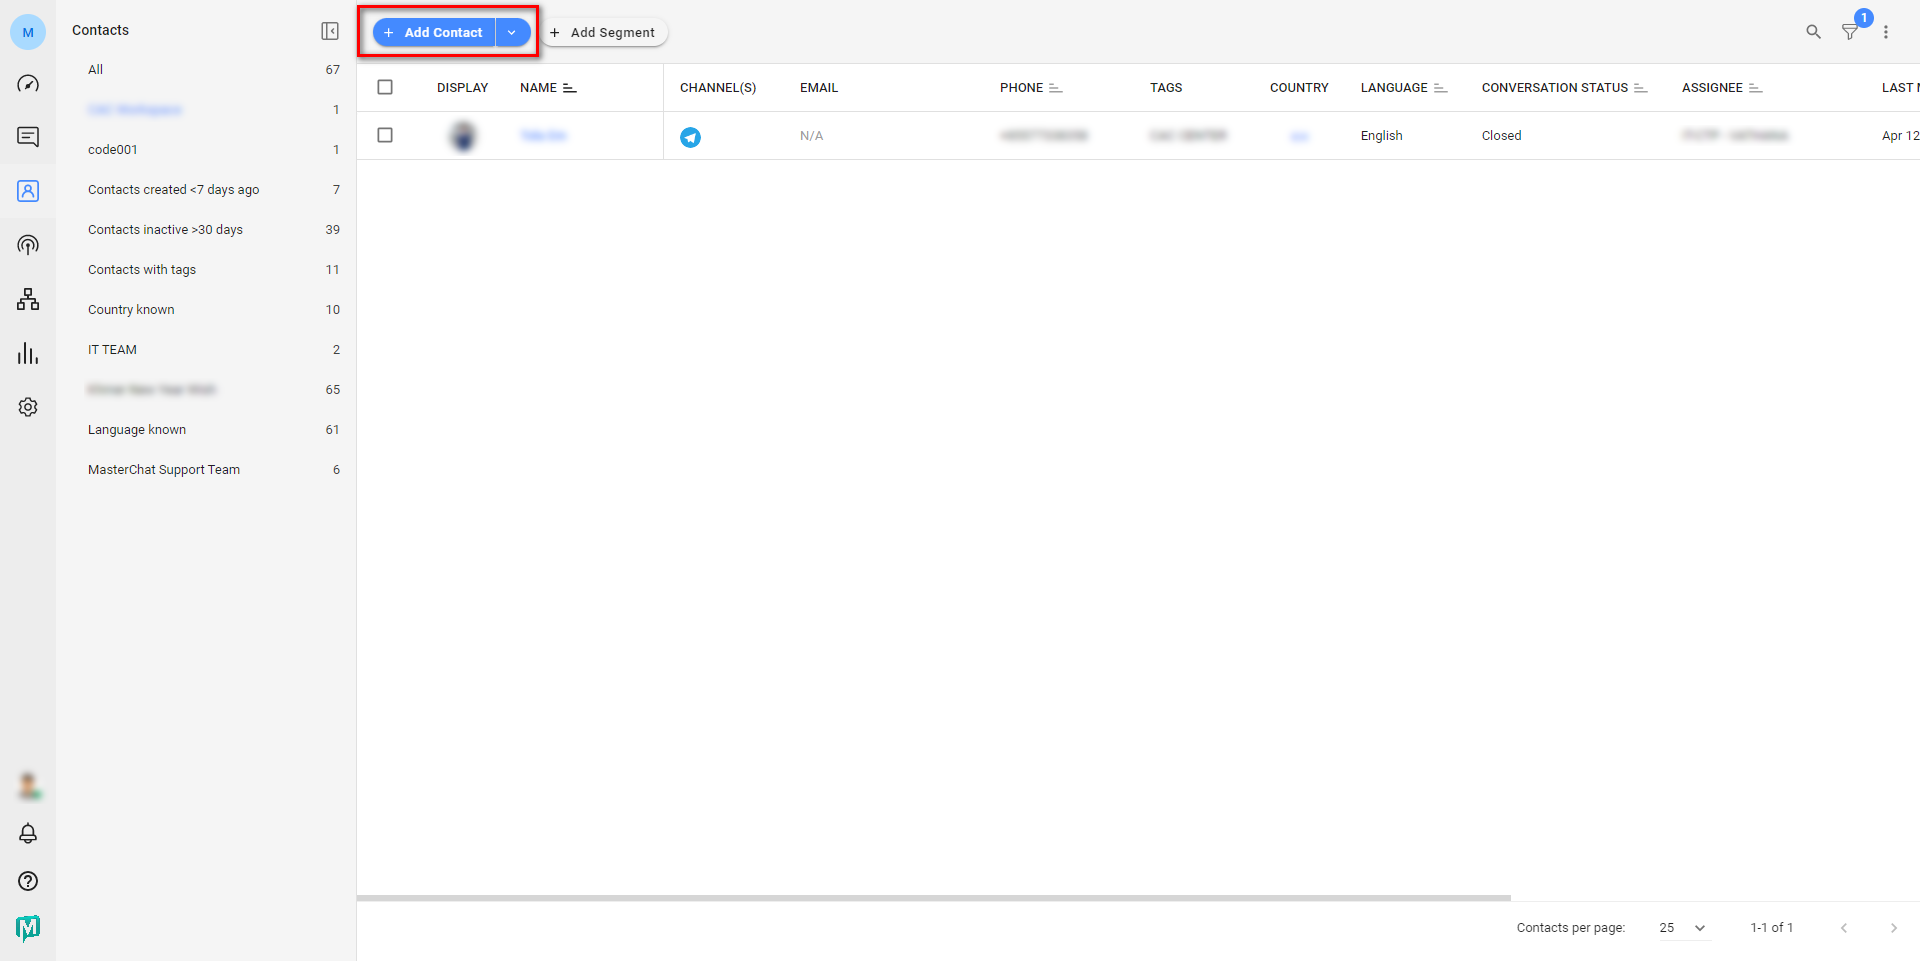
You can also choose to import multiple Contacts. Learn more about importing Contacts here.
Step 2: Fill in the Contact's information in the form provided.
Learn more about adding WhatsApp Contacts here.
Step 3: Review the information and click Add.
Automation and automatic Contact assignments will not be applied to Contacts added from the Contacts Module.
Searching for Contacts
If you wish to search for a particular Contact, input your query in the search box.
Learn more about Search Behavior here.
Filtering Contacts
You can view a list of Contacts that fulfill a set of criteria by applying filters.
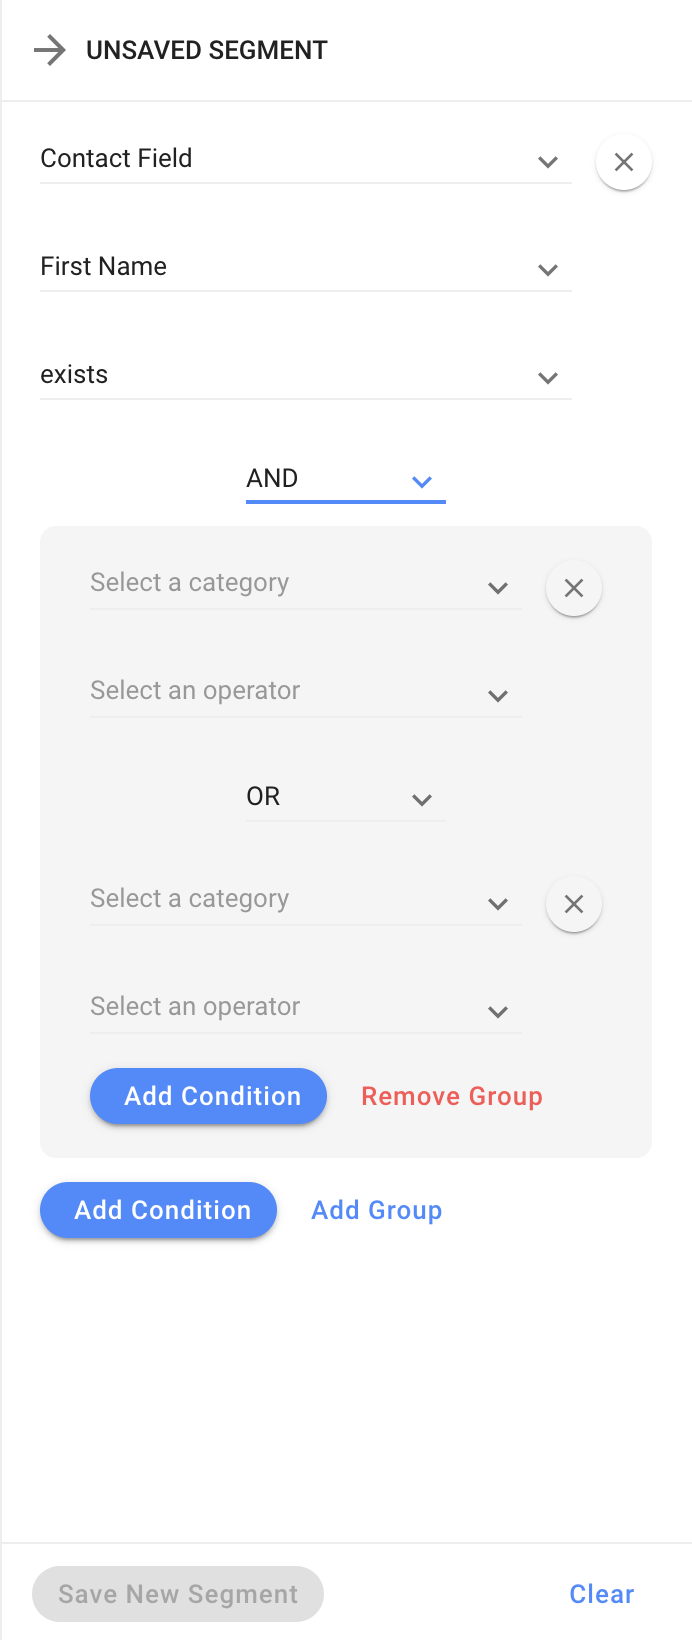
Step 1: Click the filter icon to open the filter drawer on the right.
Step 2: Configure the filters.
The following are criteria that can be filtered:
- Contact Fields
- Standard contact fields (e.g. First Name, Country)
- Assignee
- Conversation Status
- Conversation Opened Time
- Contact Creation Time (Created At)
- Last Interaction Time
- Contact fields manually created in the Workspace (Custom Fields)
- Channels
- Contact Tag
- Last Interacted Channel
- Time Since Last Incoming Message
Nested conditions are now supported. These are a group of conditions that are included in the definition of a primary condition.
Step 3: View the filtered results, which are updated in real-time and immediately reflected in the Contacts Table.
To view all of your Contacts without any filters applied, click on the Clear button located at the bottom right of the filter drawer.
Step 4: Click on the Save New Segment button to save your Segment.
Learn more about Segments here.
Exporting Contacts
Only Owners and Managers with no such restrictions can perform this action.
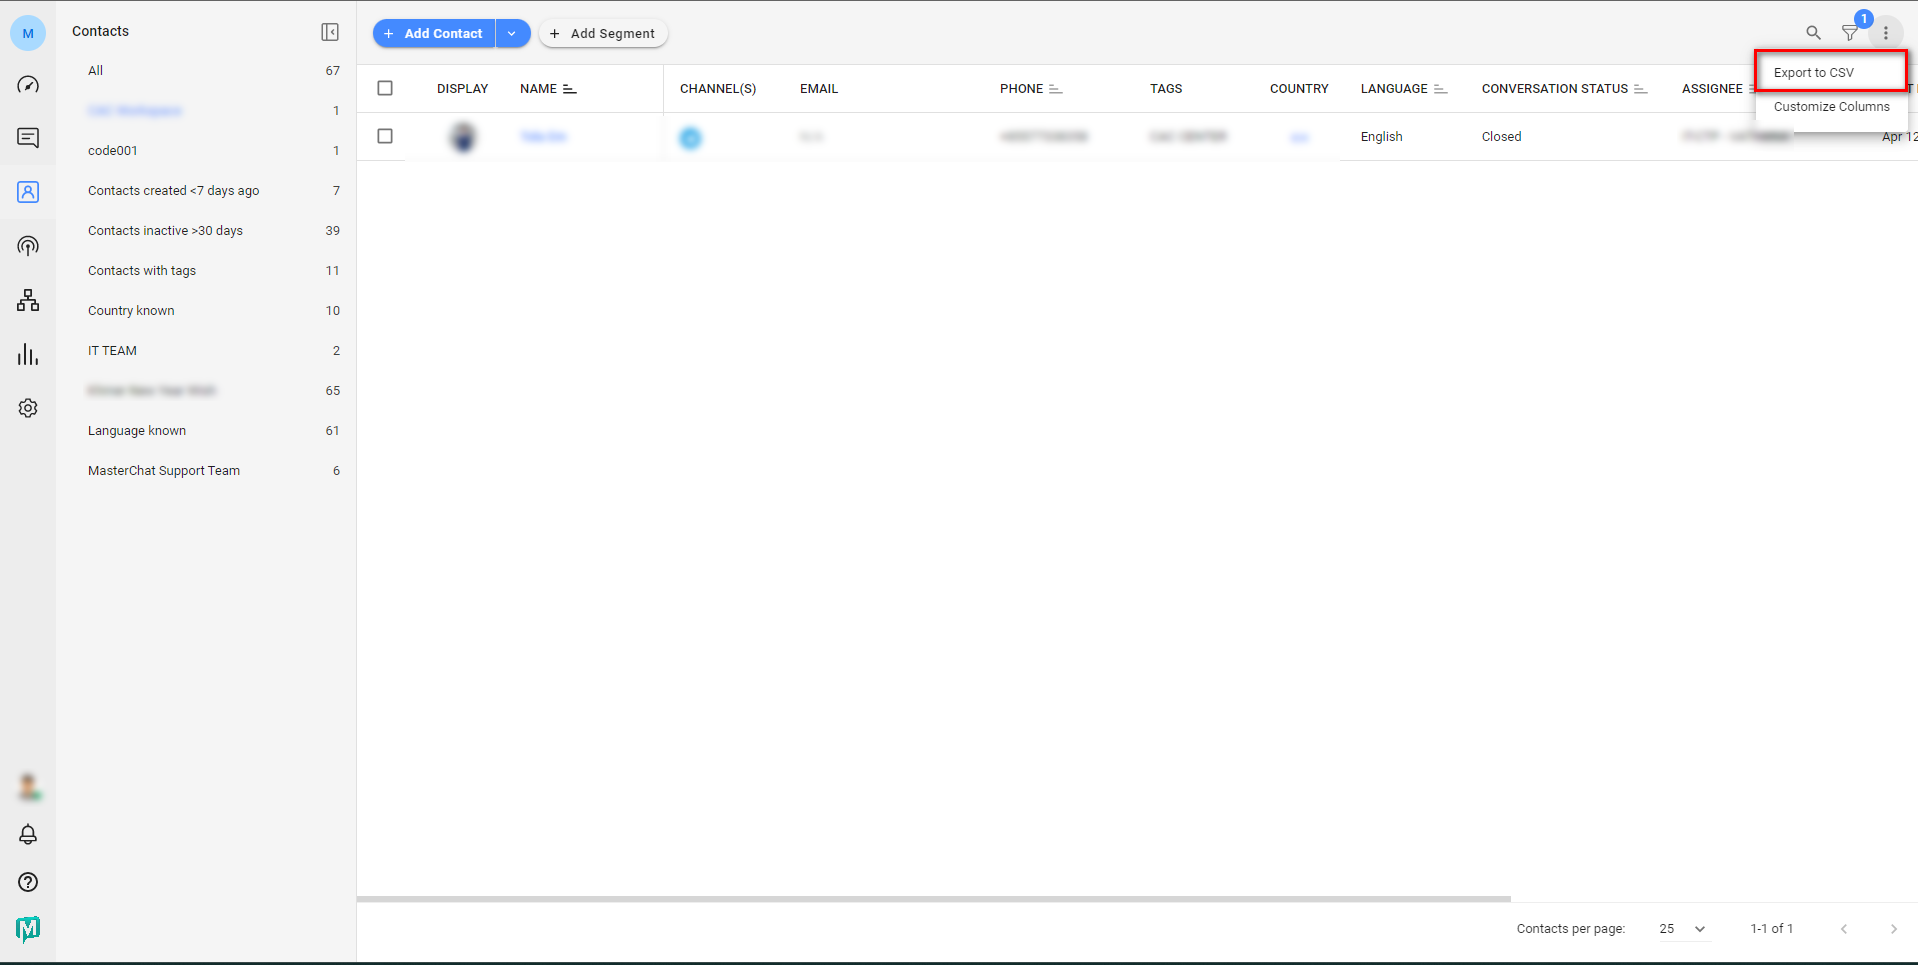
You can only export 100 contacts per page from the Contacts Module.
Customizing Columns
The columns shown in the Contacts Table can be customized depending on your needs. Select Customize Columns from the Actions menu to do this.
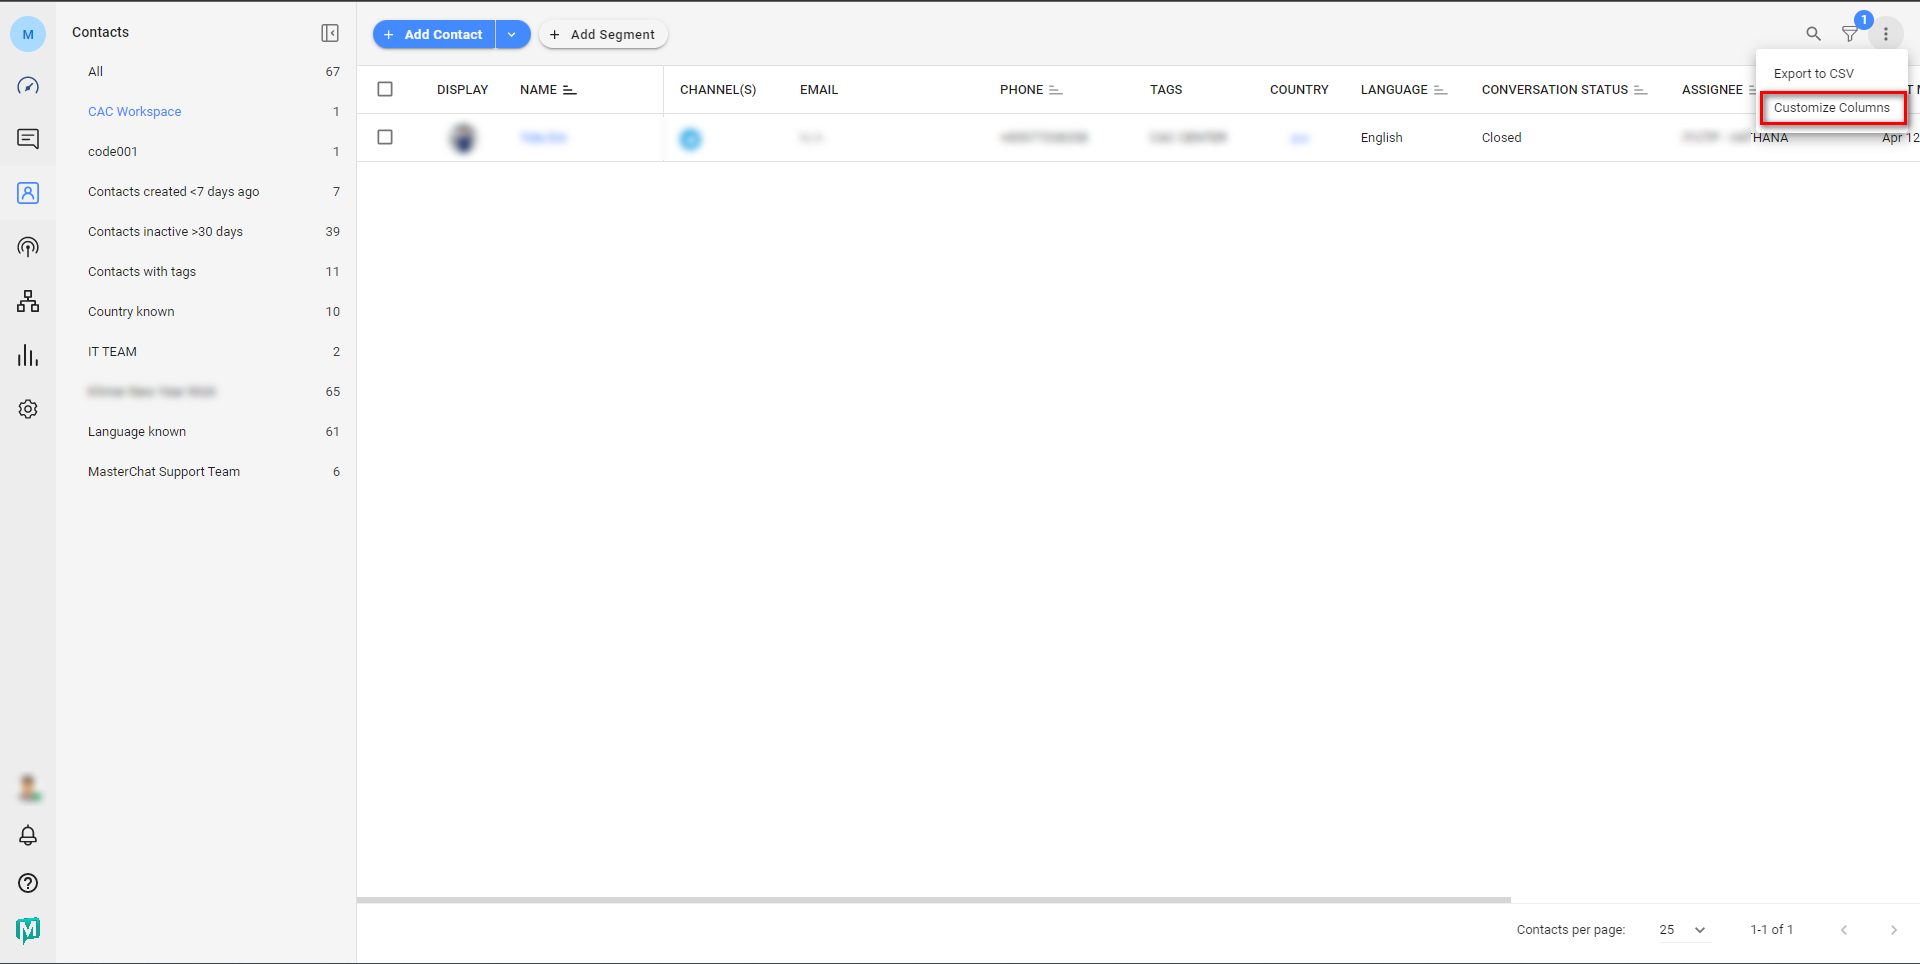
Indicate via the checkboxes which columns you wish to display in your Contacts Table.
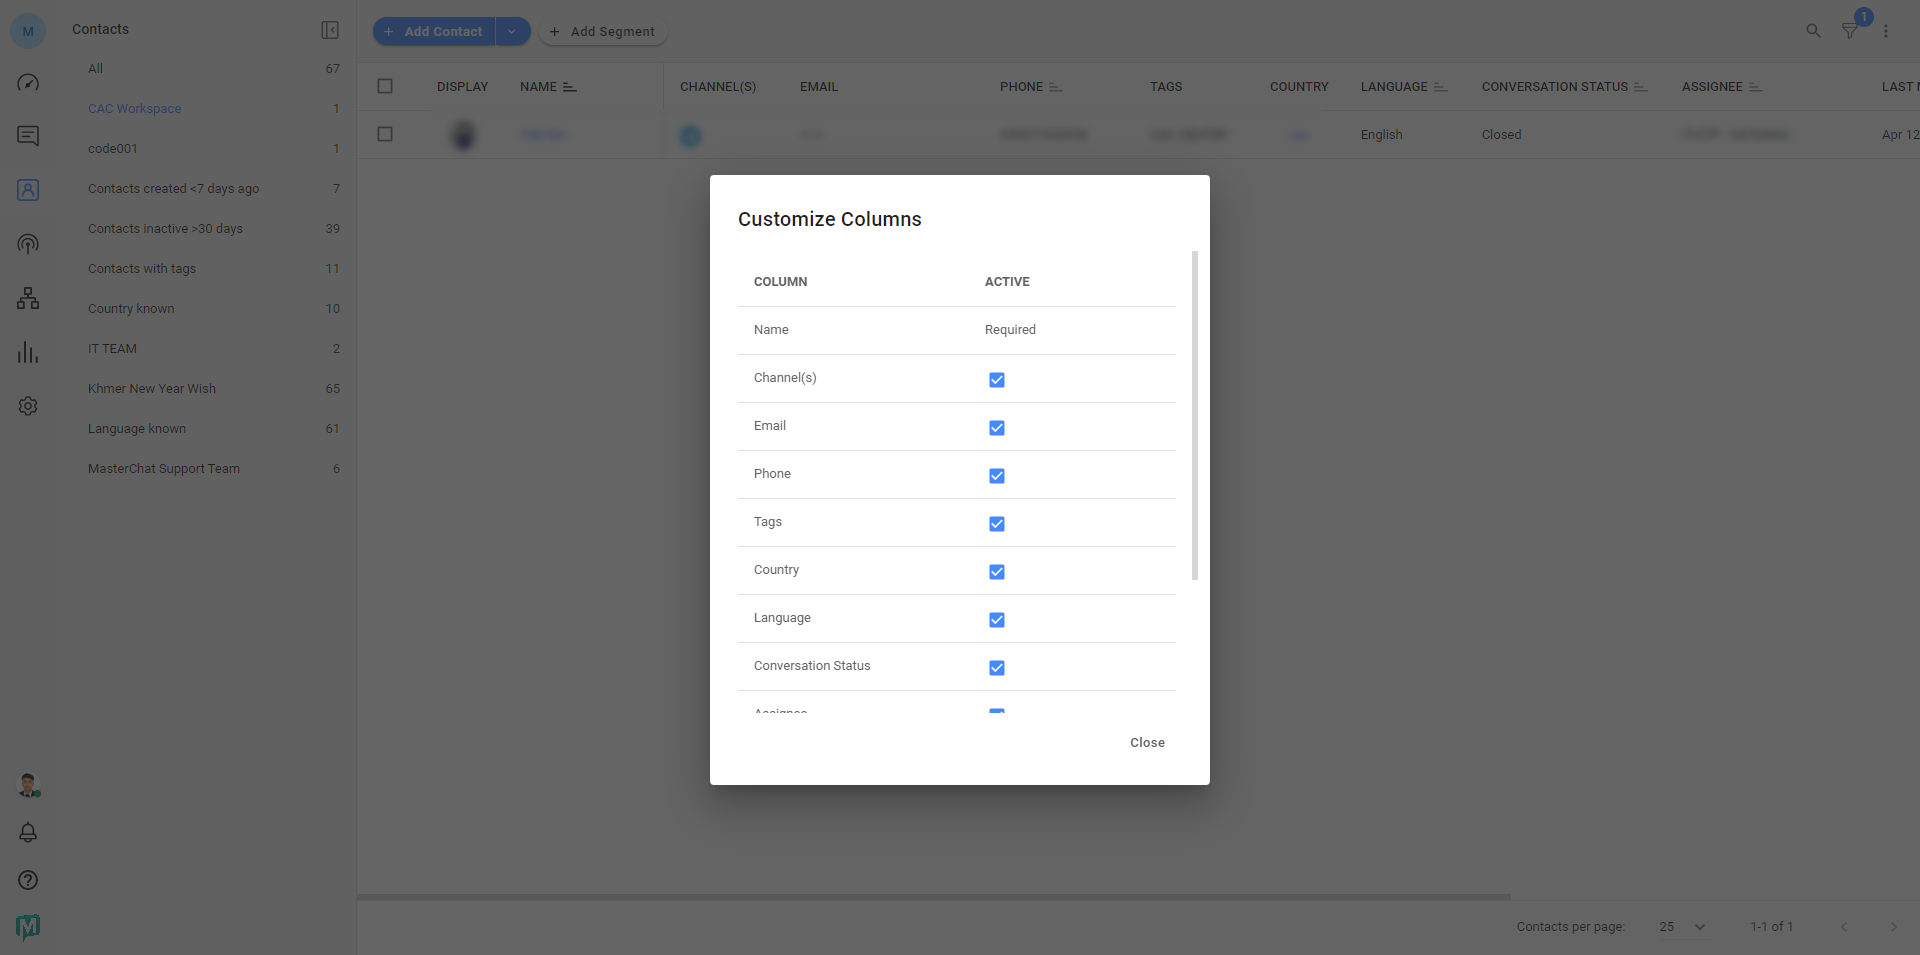
The column display will automatically update and reflect your selections.
The Name column is required and cannot be deselected.
-
Selecting Multiple Contacts
To select Contacts, check the box to the left of their respective names in the Contact row. Alternatively, select all Contacts after applying the desired filters. Once selected, you can then perform the following actions.
Delete Multiple Contacts
- Only Owners and Managers with no such restrictions can perform this action.
- You can only delete 500 Contacts at a time.
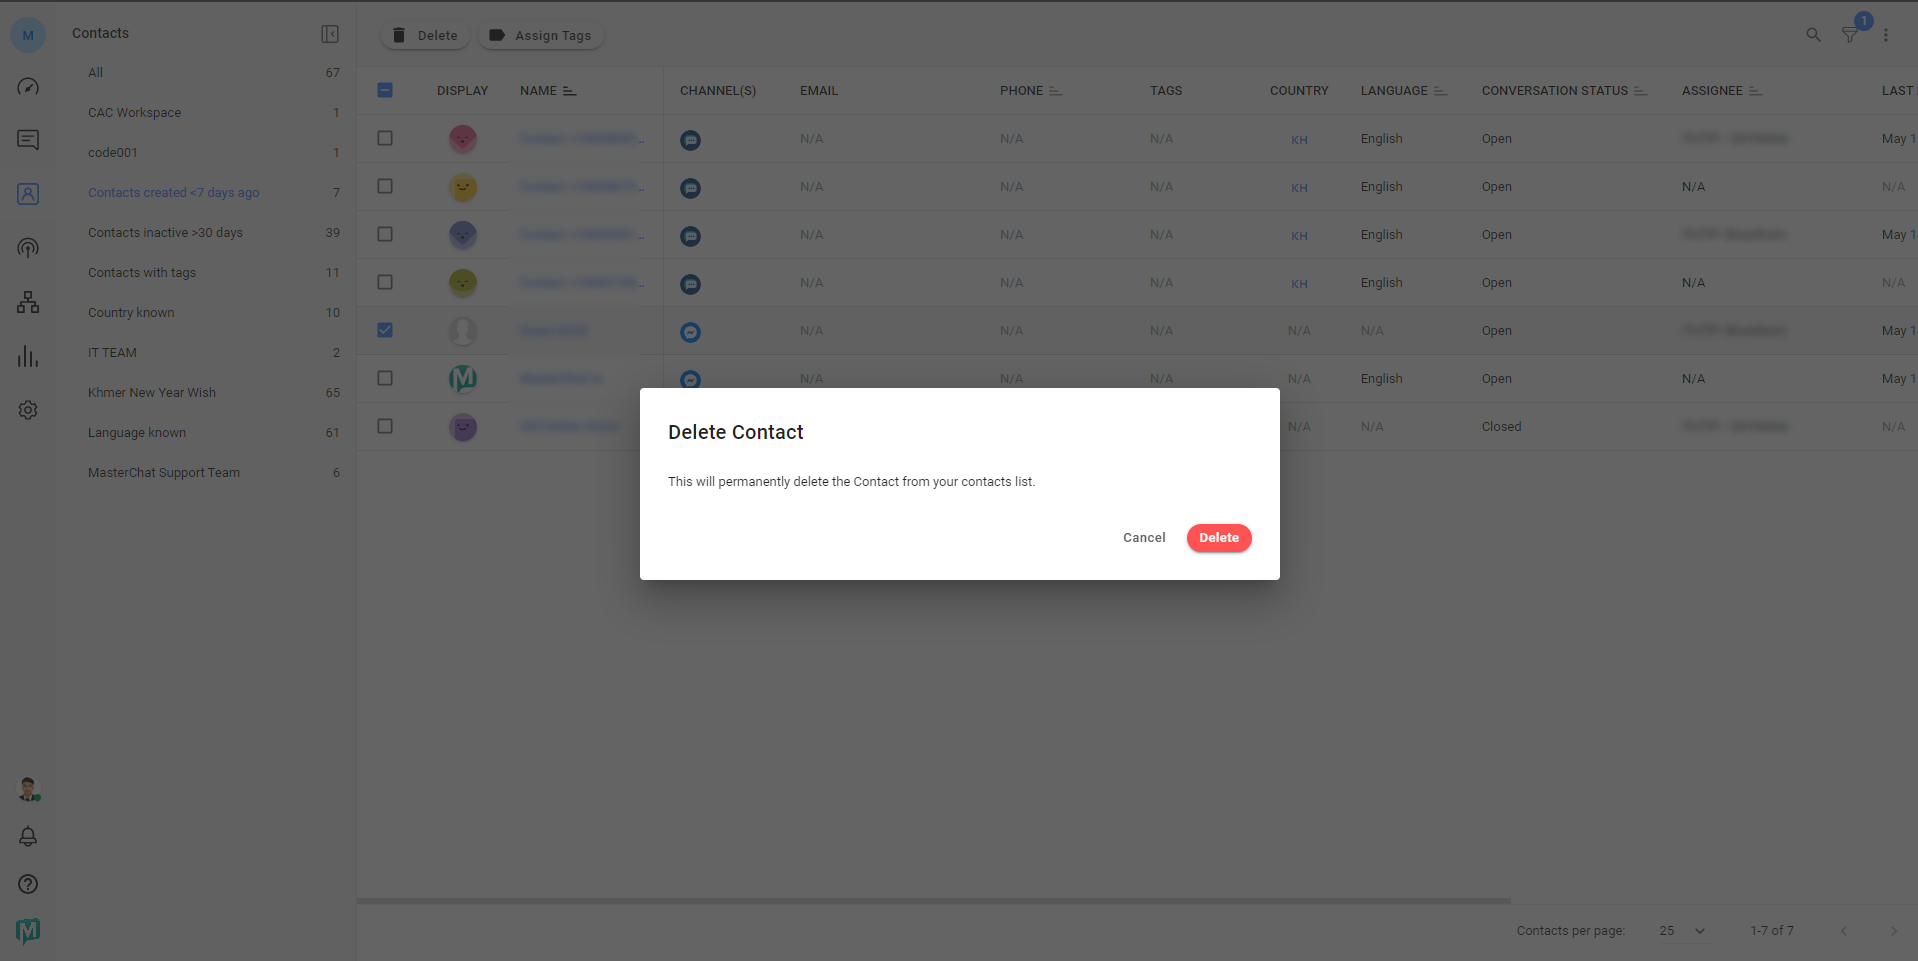
- Deleting a Contact will also delete the conversation history associated with the Contact.Step 1: Select the Contacts you want to delete > Click the Delete button.
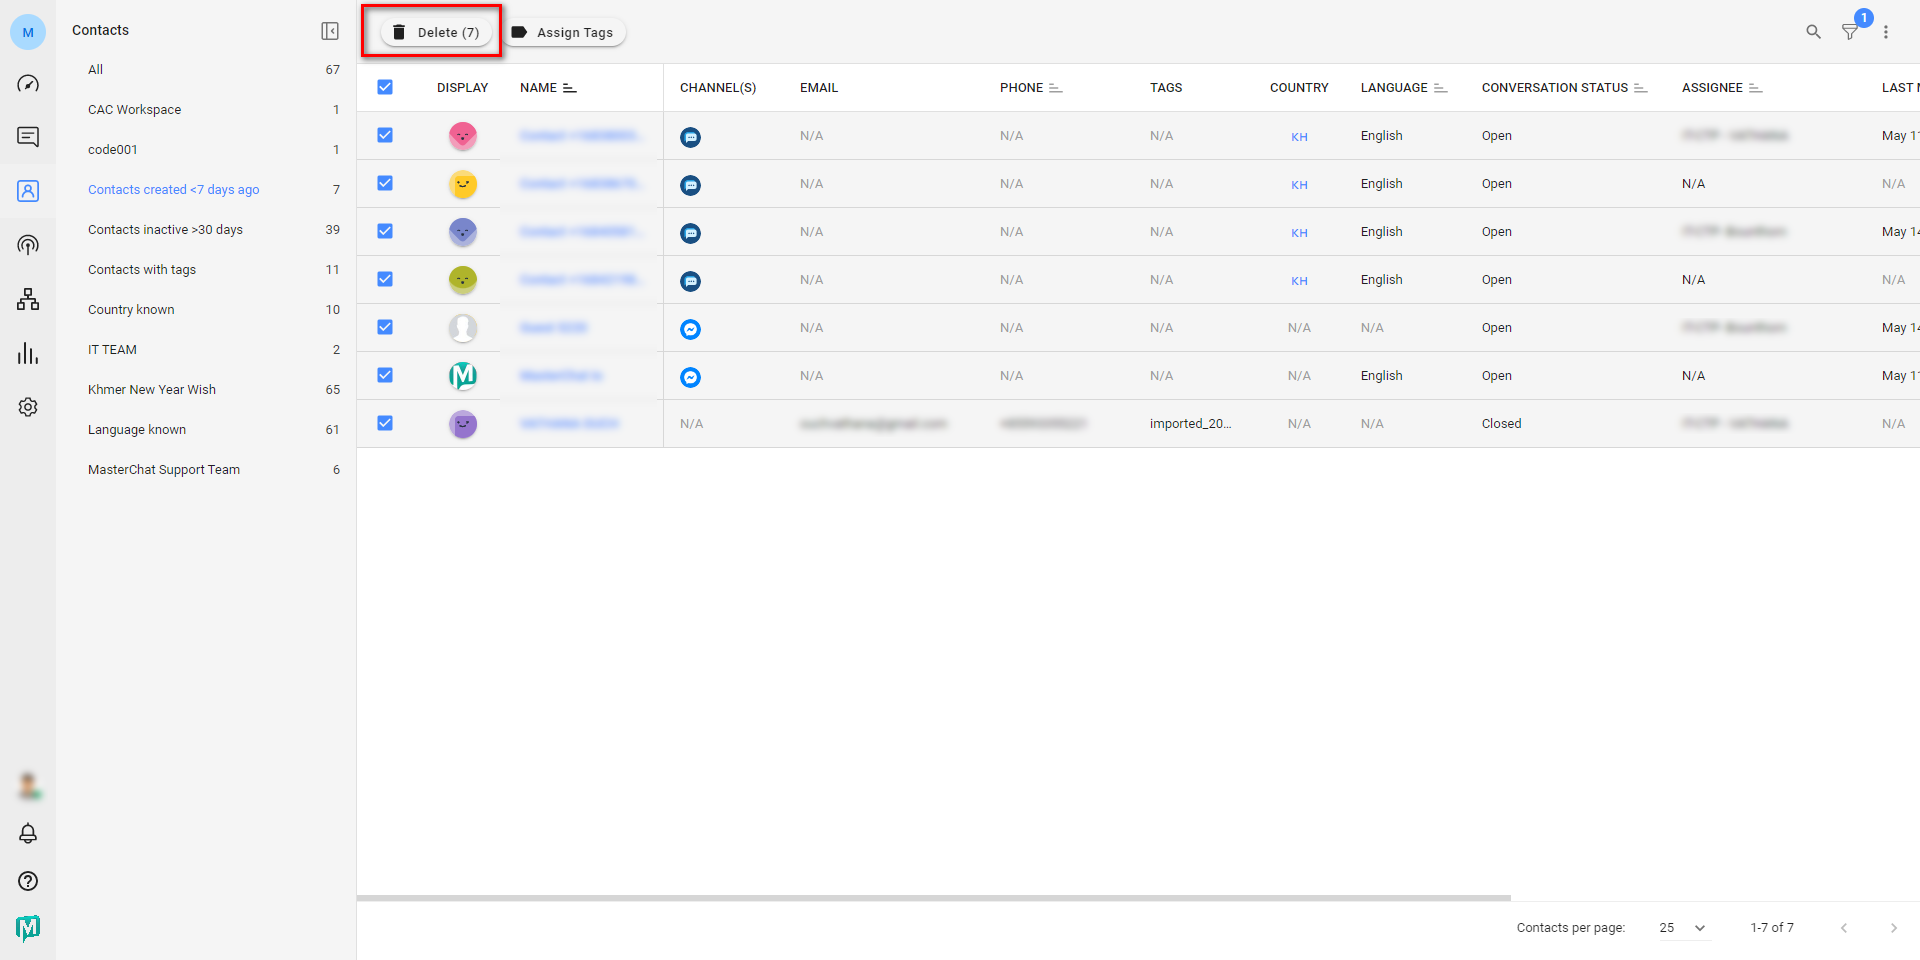
Step 2: On the pop-up, Click Delete to confirm the deletion of selected Contacts.
Assign Tags to Multiple Contacts
Step 1: Select the Contacts you want to tag.
Step 2: Click the Assign Tags button.
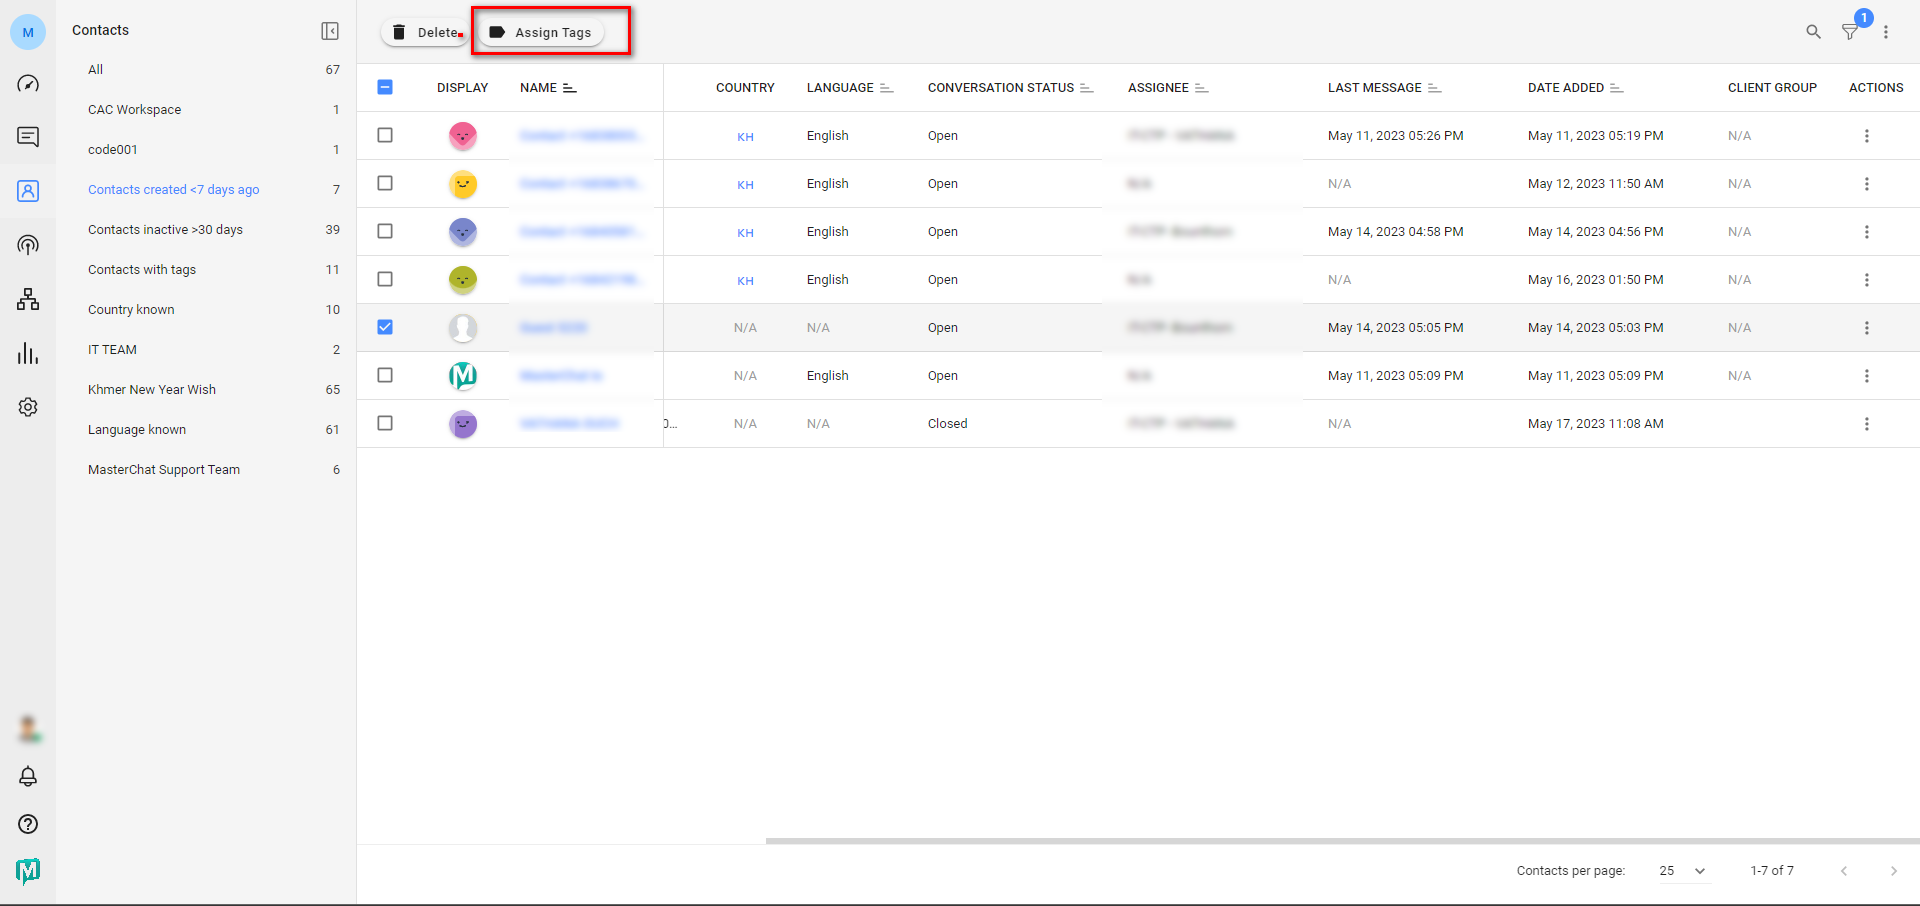
Step 3: Input your desired tags and click Add Tags to assign the tags to the selected Contacts.
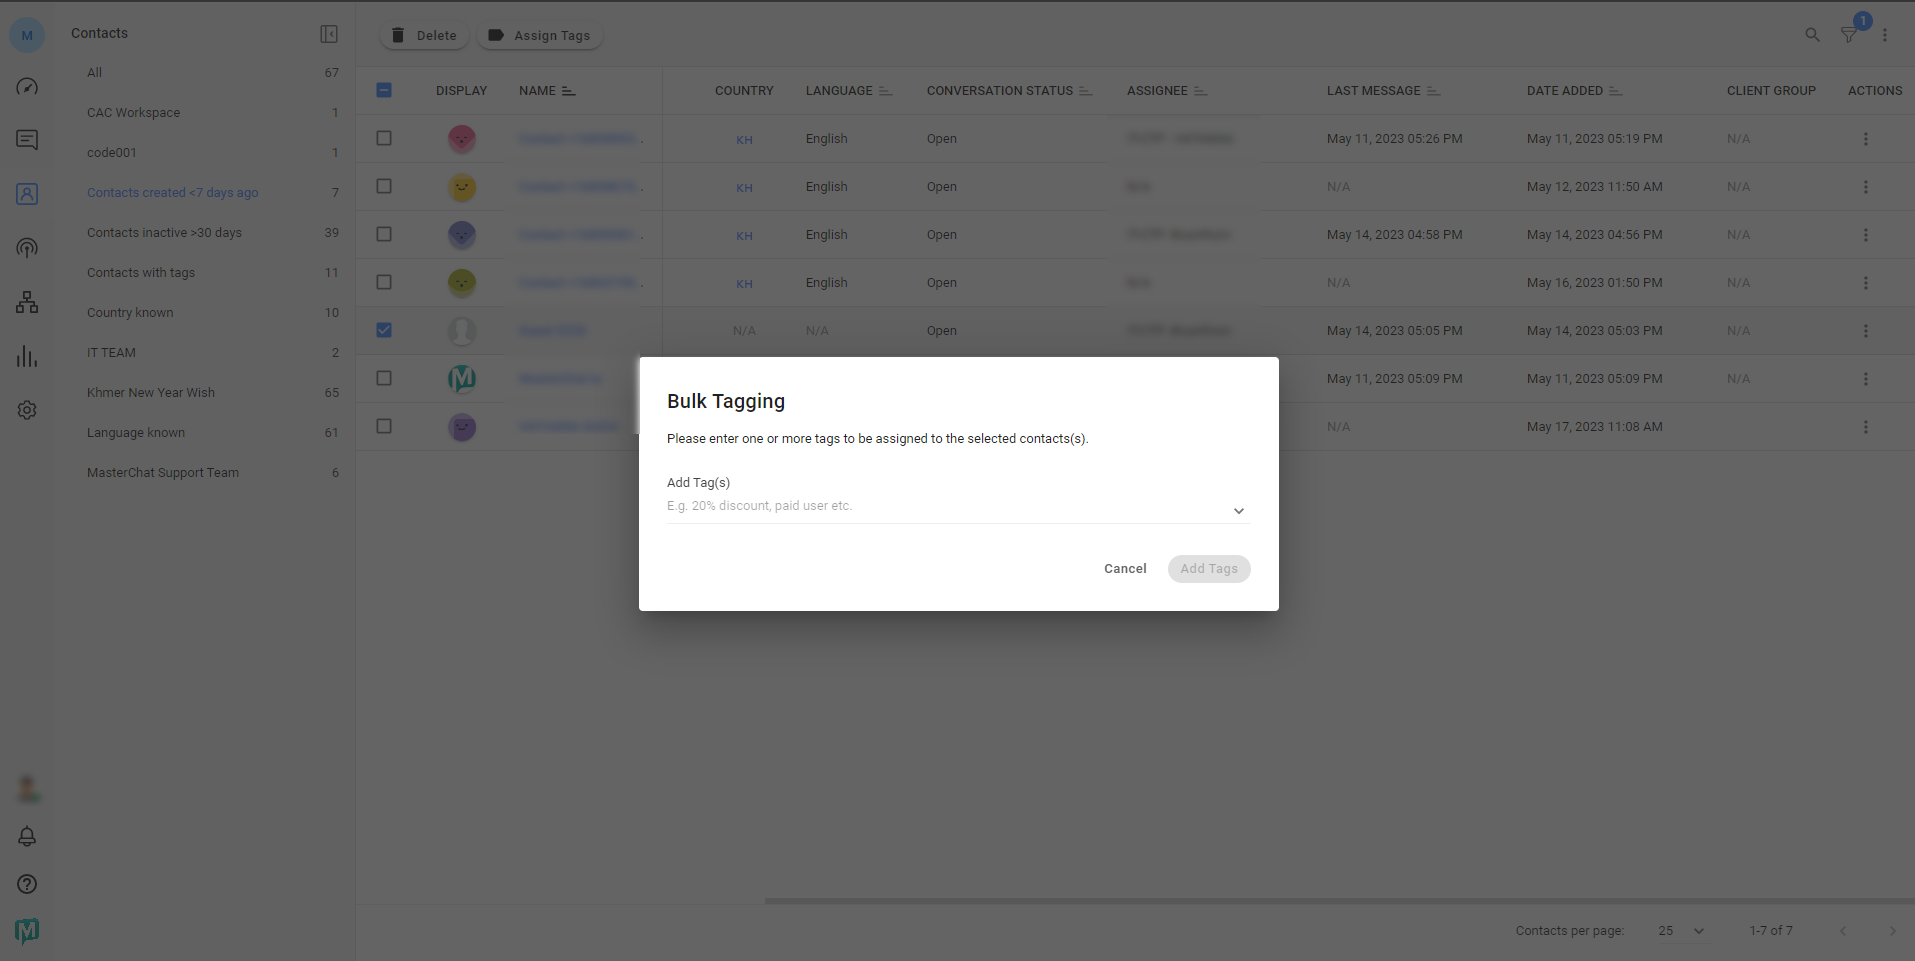
You can only assign Tags to 500 Contacts at a time.
When you unmerge a Contact, all interactions that happened after the Contacts were merged will be associated with the primary Contact only. The secondary Contact will keep any interactions made before the merge happened.
-
FAQ and Troubleshooting
How can I export more than 2500 contacts?
The Contacts Module can load Contacts up to 2500 rows of pagination, this limit allows the platform to perform searches faster and more consistently.
To export more than 2500 contacts from the Contacts Module, you can use filters to narrow your search to return a specific list of contacts that is within the 2500 pagination range.
Another way is to upgrade to an Enterprise plan which will allow you to use the Data Export Contacts feature. Learn more about Data Export here.